Iris are one of the most popular and beautiful of garden flowers. With the wide range in plant type, size, and adaptation, there is an iris for almost any location. The standard iris, Japanese iris, Siberian, Spuria and yellow flag types are all suitable for Nebraska. By using an assortment of these types in a variety of sizes, iris bloom time can extend from early April through June.
Plus, iris are vigorous plants and easy to grow even for the beginning gardener.
Mid-summer, from mid-July to early-September, is the best time to divide and move iris, after plants have bloomed. This ensures adequate root growth and establishment before winter. So if your iris bed has become too thick or is producing fewer flowers, then plan to divide and conquer!
 Site Selection
Before you start, decide where you will be planting the new divisions. Iris prefer a sunny planting location with good air circulation and well-drained soil. Sandy loam soil is best, but other soil types can be improved with organic matter to be suitable. Renovation is a great time to add soil amendments, such as compost, to improve soil quality.
Another possibility for areas with poor soil is to create raised beds, which makes soil improvement easier and improves water drainage. Whether the plants are grown in a raised bed or not, work the soil to a depth of at least 10 inches.
If you’re replanting in the same site, make sure it still provides enough light for good growth. As landscapes mature, it’s common for a site that was once in full sun to become shady. But if you still have approximately 8 hours of full sun each day in the original location, then your plants will thrive.
German Iris - Division & Replanting
Mid-July to early-September is the best time for dividing and transplanting bearded iris. This ensures adequate root growth and establishment before winter. Dividing and transplanting too-thick iris beds every three or four years is an important maintenance practice that ensures plants have adequate room to grow, and minimizes the effects of iris borer, a common garden pest.
Most types of iris grow from an enlarged underground stem called a rhizome. All that is required to start a new plant is a few inches of firm, healthy rhizome with well-developed roots and at least one fan of leaves or a growing point.
Before dividing the plants, cut the leaves to about one third of their full height. Dig up the entire clump of rhizomes and wash away the soil. This will make it easier to decide where to divide the rhizome and which, if any, parts need to be discarded, such as rhizome sections with no leaves, or those that are rotten, damaged or dead.
Cutting rhizomes into small sections with only one fan of leaves will result in plants not needing to be divided again for three to five years, but these plants will also be slower to produce a good show of flowers. Larger sections with two fans of leaves will produce flower more rapidly, but will also require division sooner.
When replanting into a good, loose soil, place iris rhizomes just barely beneath the soil surface. In heavier soil, plant with the upper surface of the rhizomes exposed slightly to prevent rotting. Roots should be buried to provide good anchorage. Form a cone or ridge of soil in the bottom of each hole; place the rhizome on top of the cone and spread the roots around the outside of the cone. Don’t allow the roots to clump together.
Space divisions 8 to 10 inches apart in the new location. Create groupings with the fans all arranged, or pointed, in the same direction to prevent plants from growing into each other in years to come.
Keep your plants well watered after division. Remember, you removed many of the plant’s roots as they were dug up, and need several months to become reestablished. Apply a 2-3 inch layer of mulch to keep the roots cool, and preserve soil moisture.
This fall, keep in mind that newly planted iris, and sometimes even those in their second or third year of growth, need to be winter mulched. Use clean hay, straw, evergreen boughs or any other non-packing material.
Growing Siberian Iris
Siberian iris grow from a crown with fibrous roots, in contrast to the thick rhizomes of bearded iris. Plants don't required frequent division, every 8-12 years is sufficient, but they respond well to early spring division when necessary. Dig up the plant's crown and divide the actively growing portions into good sized clumps. Discard the old sections of crown. Replant divisions at the same depth in the new location, and keep them well watered for fastest root establishment.
Siberian iris can also be transplanted in fall, but will need additional winter protection to prevent frost heaving if not given ample time to establish roots. In this case, apply a heavy winter mulch, 3-4 inches of wood chips, the first year to prevent plants from being pushed out of the ground.
Iris Borer
Borers can be a major pest of the rhizomatous iris species, but they don't have to be. A thorough garden cleanup in the fall can eliminate most overwintering eggs. This greatly reduces the chances of borer infestations next year.
The borer adult is a moth with purplish brown front wings and lighter, yellow-brown hind wings. The wingspread is about 2 inches. The moth emerges in late summer or early fall, flying only at night, and lays its eggs on the foliage and old stems of iris plants.
The eggs hatch in early spring, when new iris leaves are 4 to 6 inches high. The tiny larvae crawl up onto the new leaves, making pinpoint holes where they enter. At first they feed inside the foliage as leafminers, leaving water-soaked trails behind them. The caterpillars eventually work their way downward into the rhizome, where they feed and grow. While still in the leaves, the larvae are relatively slender. The mature larvae are plump, pink caterpillars about 1 1/2 to 2 inches long.
When fully grown, the caterpillars leave the rhizomes and pupate in the soil nearby. When they emerge as adults, they start the cycle all over again.
Gardeners can interrupt the cycle by removing and destroying iris foliage and old stems and other nearby plant debris in the fall. Another option is to spray or dust in the spring -- when the new growth is 4 to 6-inches tall. Spray with acephate or spinosad, then repeat the application in 10-14 days. Or monitor the foliage closely and crush young larvae in their water-soaked tunnels in the leaves.
Another chance to eliminate larvae occurs when you lift and divide iris rhizomes after flowering. Borer-infested rhizomes will often be soft, slimy and foul-smelling from a secondary bacterial rot. Discard and destroy infested rhizomes, and search out and destroy pupae in the soil around the plants. Pupae are dark brown, spindle-shaped and legless, and between 1/2 and 3/4 inch long. Healthy rhizomes can then be divided and replanted.
For more information, including pictures, check out Iris Borers from University of Minnesota Extension.
Caring for Established Plants
Keep established plantings growing vigorously by fertilizing in spring, or after blooming, with 1 pound of 5-10-5 fertilizer per 100 square feet.
Images
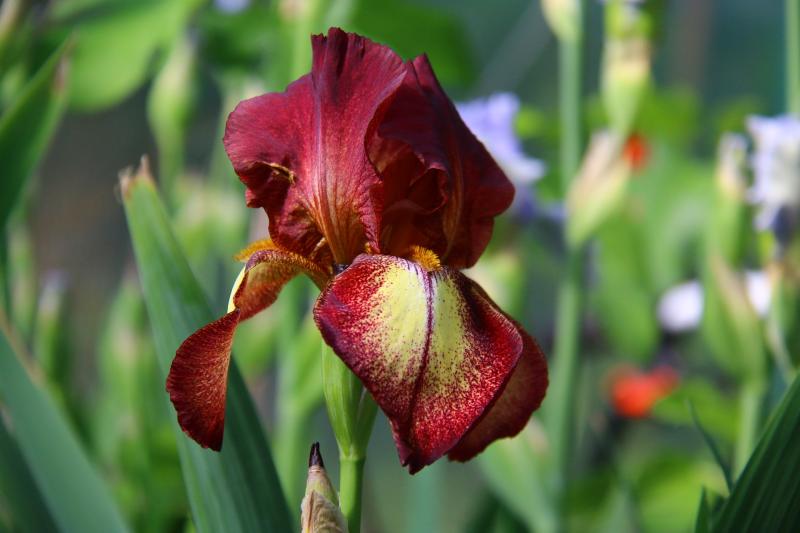
- Feature image - German iris from Pixabay.com.
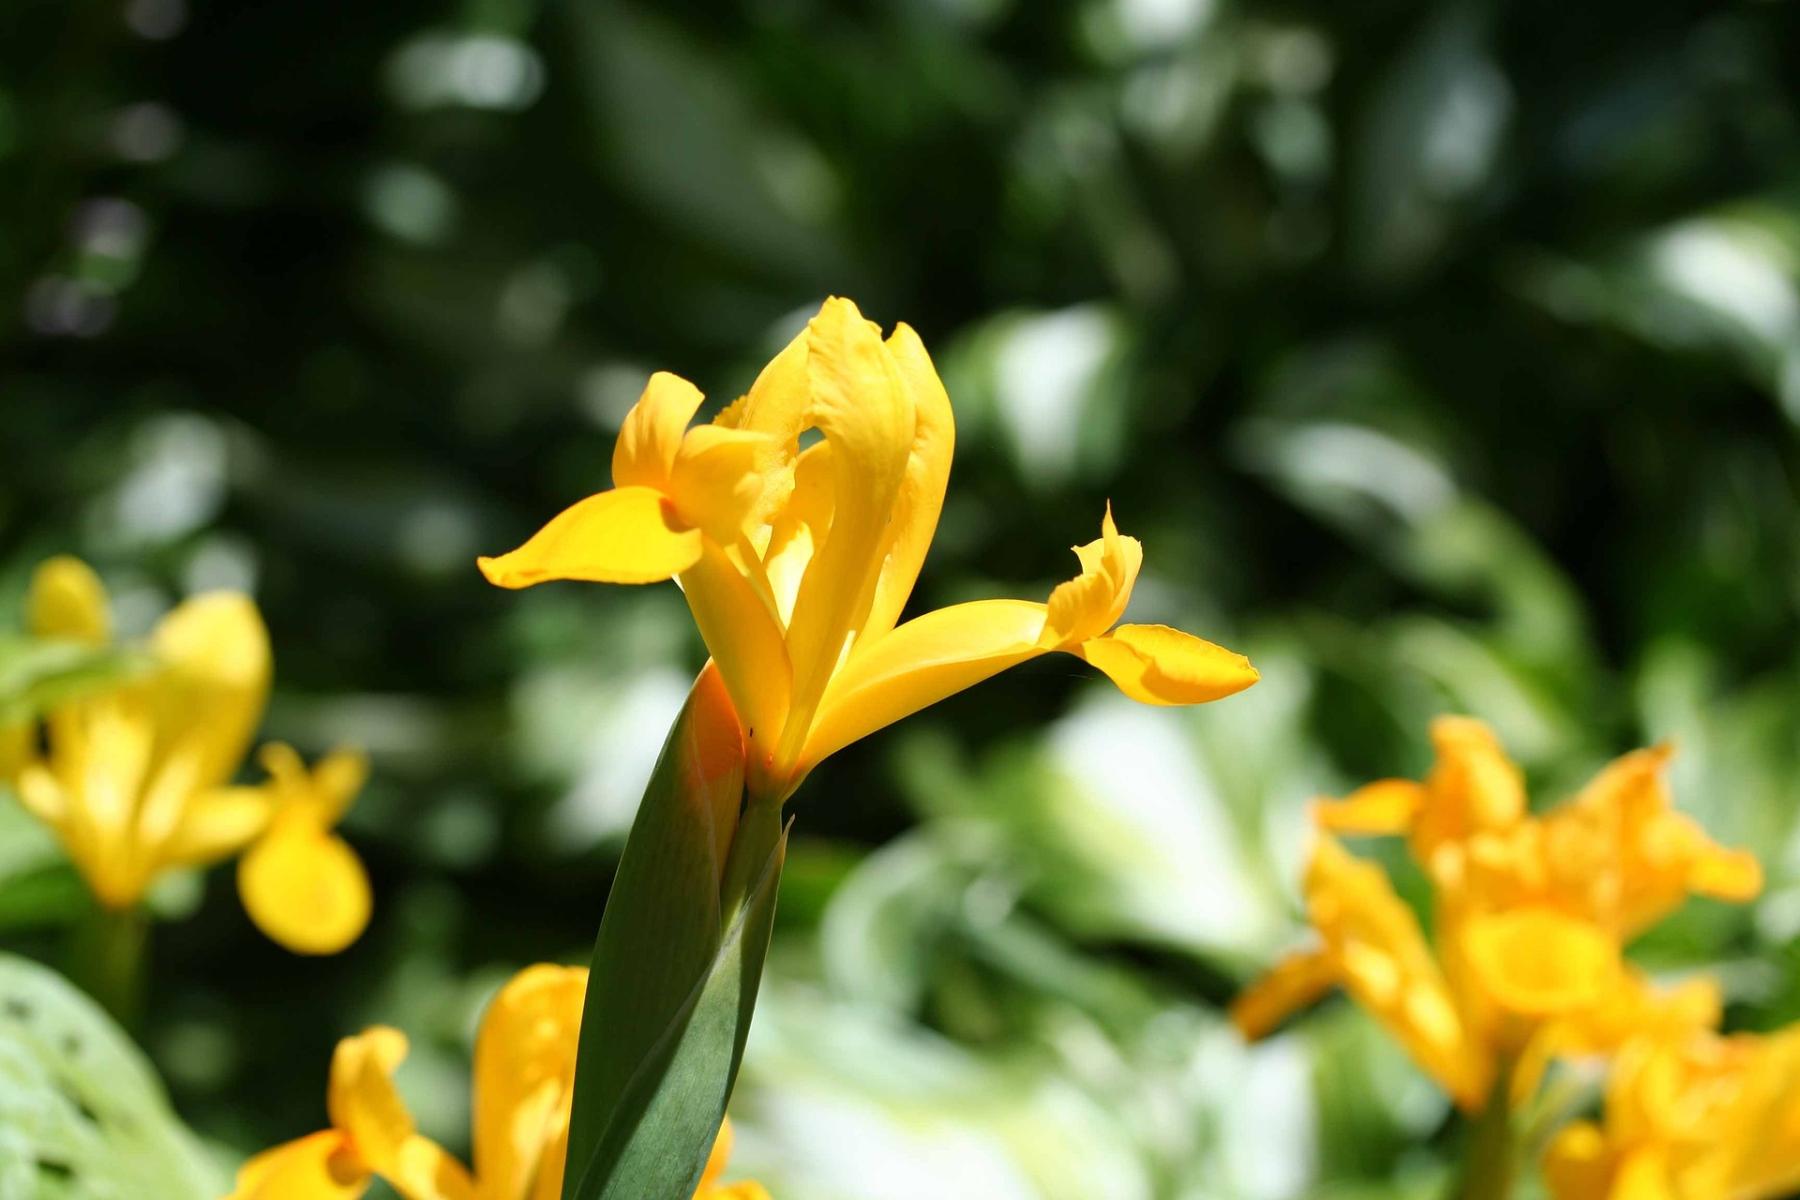
- Above left - Yellow flag iris. Pixabay.com.
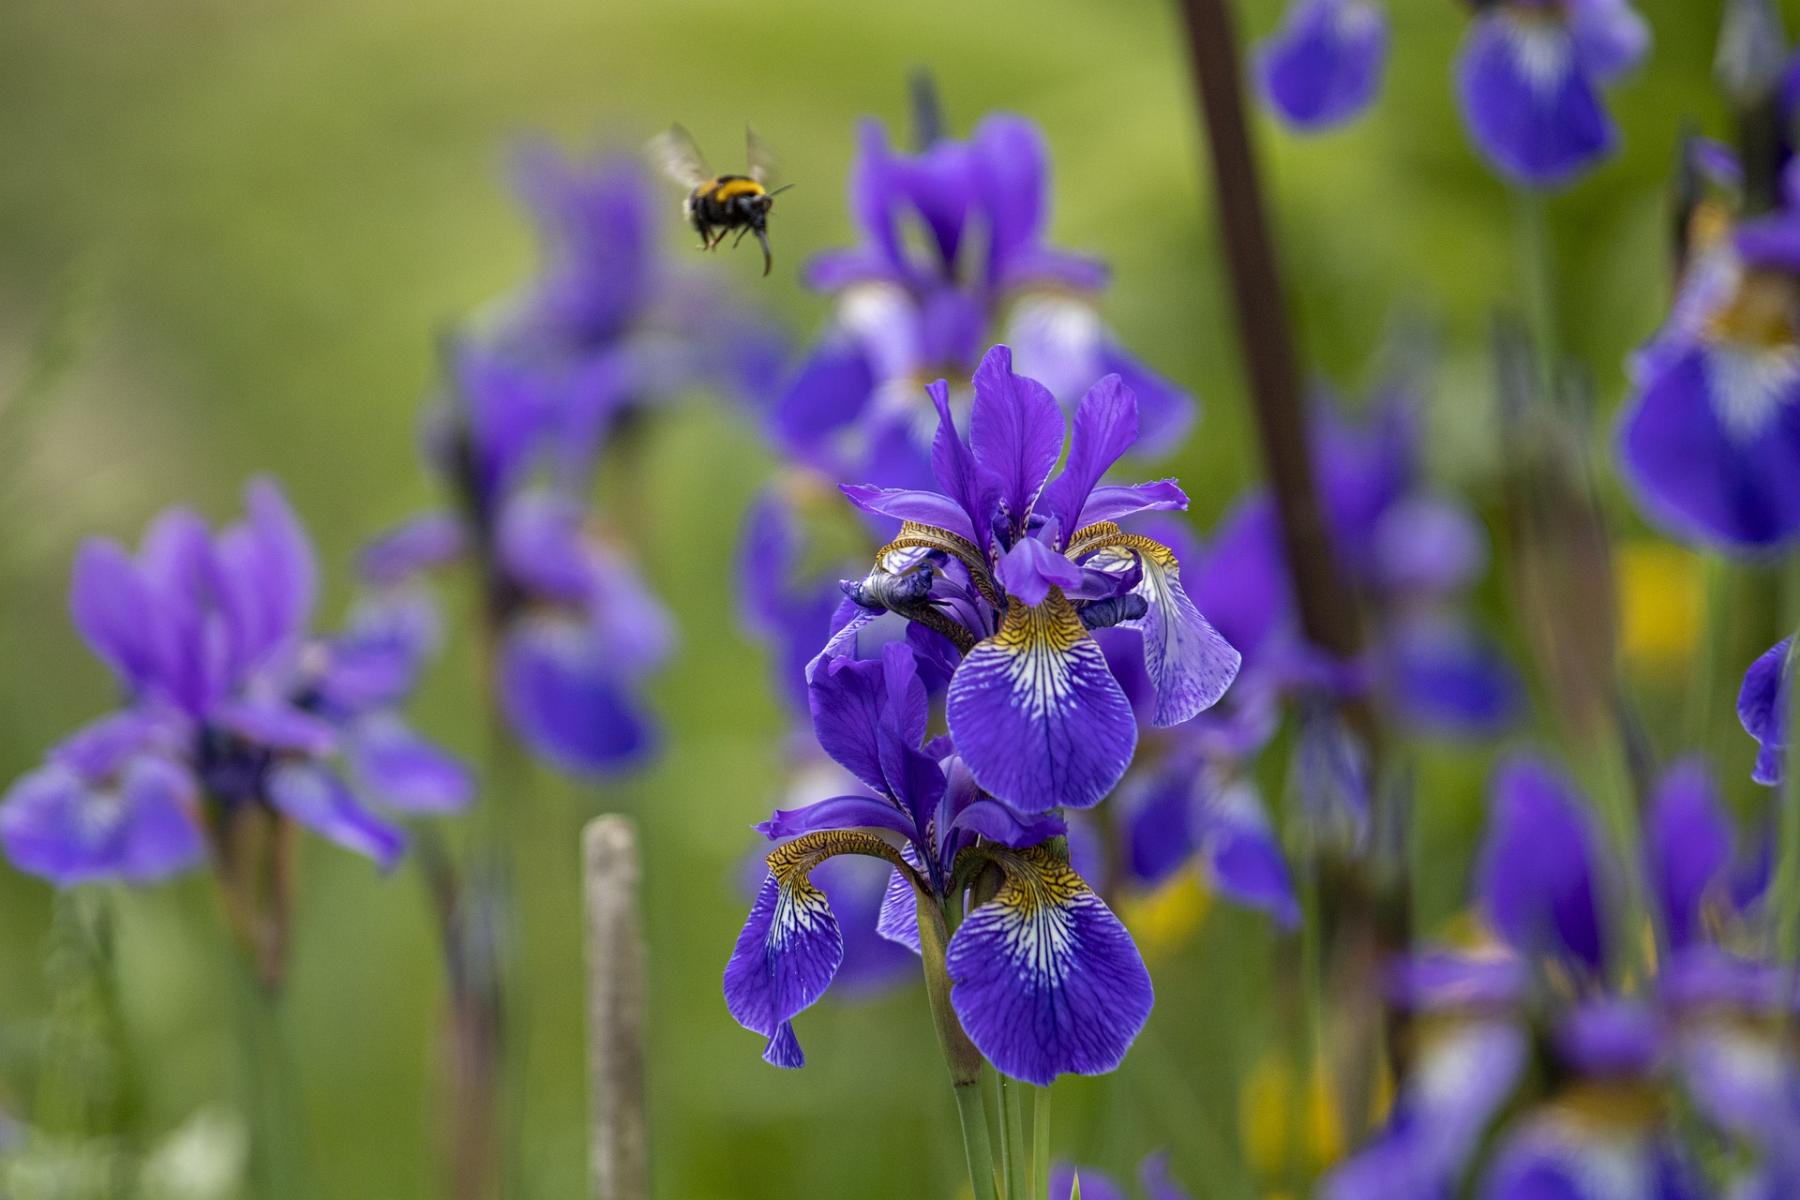
- Above right - Siberian iris. Pixabay.com.