Sarah Browning, Nebraska Extension Educator

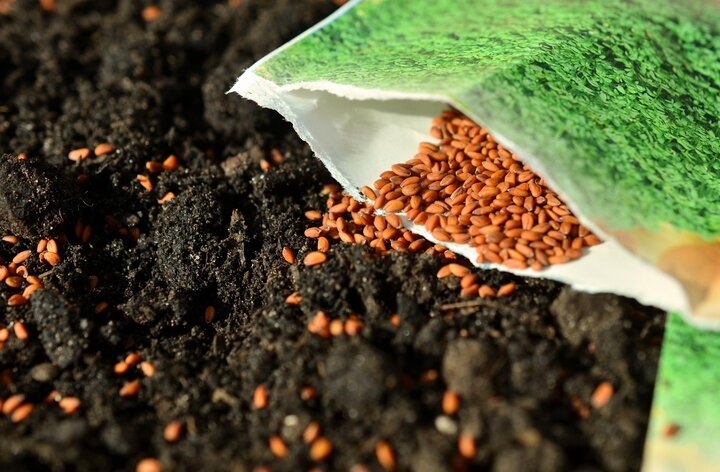
Choose the best plants from your garden for next year's seeds. Image by Pixabay.
Have you ever thought about saving seeds from your own vegetable garden to grow next year? It can certainly be done and isn’t as hard as you might think. However, before you get started there are a few important things to keep in mind when selecting plants from which to save seeds.
Some seeds -- including asparagus, geranium, delphinium and salvia -- will generally not keep from one year to the next, even under the best of storage conditions. Seeds that may be good the second year but rarely keep beyond that include sweet corn, leek, onion, parsley, parsnip, rhubarb and salsify. Moderately long-lived seeds include beans, Brussels sprouts, cabbage, carrot, cauliflower, celery, kale, lettuce, okra, peas, pepper, radish, spinach, turnip and watermelon. These may keep for three to five years. Long-lived seeds, which may remain viable for more than five years, include beet, cucumber, eggplant, muskmelon and tomato.
There is a certain feeling of self-sufficiency inherent in producing seed one year and sowing it the next, of course. If you want to try it try open-pollinated varieties of watermelon and muskmelon, string or snap beans, tomatoes, peppers and eggplant since they are the most dependable vegetables. In the flower garden, you might want to try petunias, impatiens, cosmos, celosia, sunflowers, marigolds and zinnias. But, unless you are preserving a rare or old-time variety that's no longer commercially available, however, there's very little reason to go to the bother of harvesting, drying, cleaning and storing home-grown seeds.
Let both vegetables and flowers mature before you harvest them. Remove the seeds from the fruits and flower heads and dry them on paper towels in a warm, dry spot. Seeds need to be dried before being stored to reduce problems with mold. Drying also improves the likelihood that seeds will germinate.
Avoid Hybrid Plants
Many, if not most, of the vegetable seeds and transplants you purchase at the garden store in spring are hybrid plants, developed through the crossing of two distinct parent lines. Hybrid plants are developed for their vigorous nature and improved disease resistance. They often have fruits that are more uniform in size, shape and color, have better storage quality and shipping ability. For tomatoes, improved shipping ability usually means the tomato flesh is firmer than that found in most heirloom tomatoes. However, hybrid plants do not grow ‘true to type’ from seed so aren’t good candidates for seed saving.
Choose instead to save seed from open pollinated heirloom plants or naturally occurring plant species like red vein sorrel, Rumex sanguineus, which will grow ‘true to type’ from seed each time.
The next consideration is how to collect the seeds? This varies depending on how seeds are produced by the plant- either as dry seeds or wet seeds within a fruit. Harvest seeds from your healthiest, most vigorous plants.

Dry Seeds
Many plants produce seeds in a dry seed head, such as lettuce or dill. To harvest lettuce, allow a few plants to mature and develop flower heads. Let the flower heads mature until seed stalks develop a fluffy dandelion appearance, just before the seeds are completely dried. Seeds will fall off the stalk and be lost if allowed to totally dry on the plant.
To harvest dill, cut the seed stalks when the seeds are fully sized and turning brown.
Bundled the stems together with rubber bands or string. The seed heads can be placed inside a paper bag as they dry to catch any seeds that fall. Hang the bundles to dry in a warm, well-ventilated location. Dry the harvested stalks until the seeds can be shaken or rubbed from the stems.
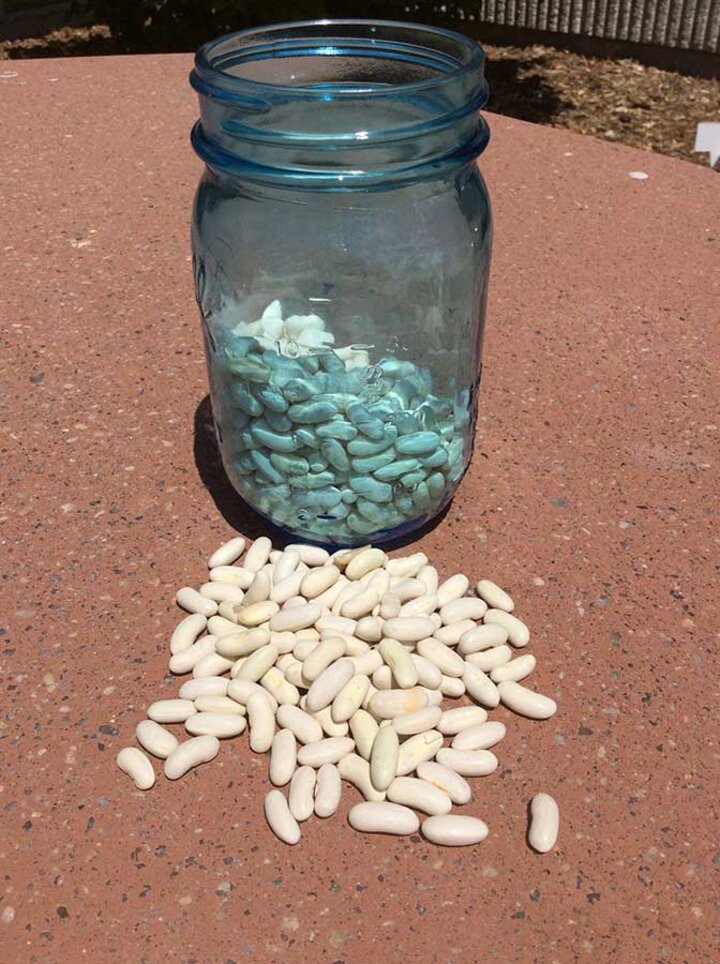
To store either leftover commercially packaged seeds or home-grown seeds, place them in envelopes or packets in an airtight container, such as a jar, with a moisture-absorbing material. Silica gel or some other flower-drying material works well. A handy substitute is two heaping tablespoons of powdered nonfat dry milk wrapped in a few thicknesses of facial tissue. The wrapping needs to be porous enough to let moisture in but sturdy enough not to dissolve.

Wet Seeds
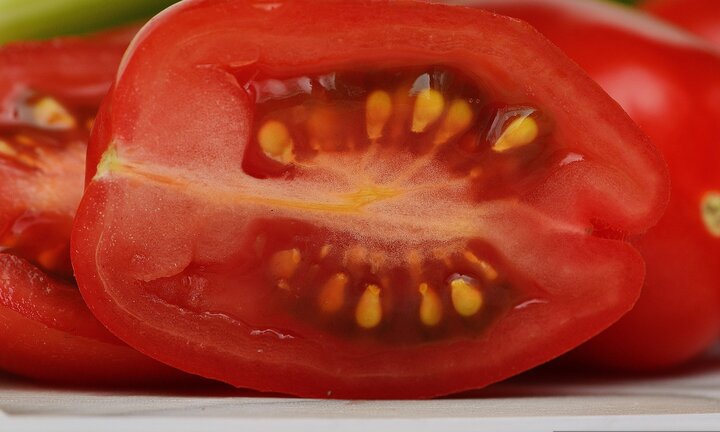
Pick fruit from desirable plants when ripe. Cut fruit and squeeze out the pulp into a container. Add a little water, shake the mixture well, and let the pulp ferment 2-4 days at room temperatures, stirring occasionally. When seeds settle to the bottom of the container, pour off the pulp at the top of the container. If necessary add more water and let any remaining pulp ferment again. When you have mostly seeds remaining, pour them into a fine sieve. Rinse them well and spread them in a thin layer on a piece of netting or screen, allowing them to dry thoroughly.
Beans and Pea
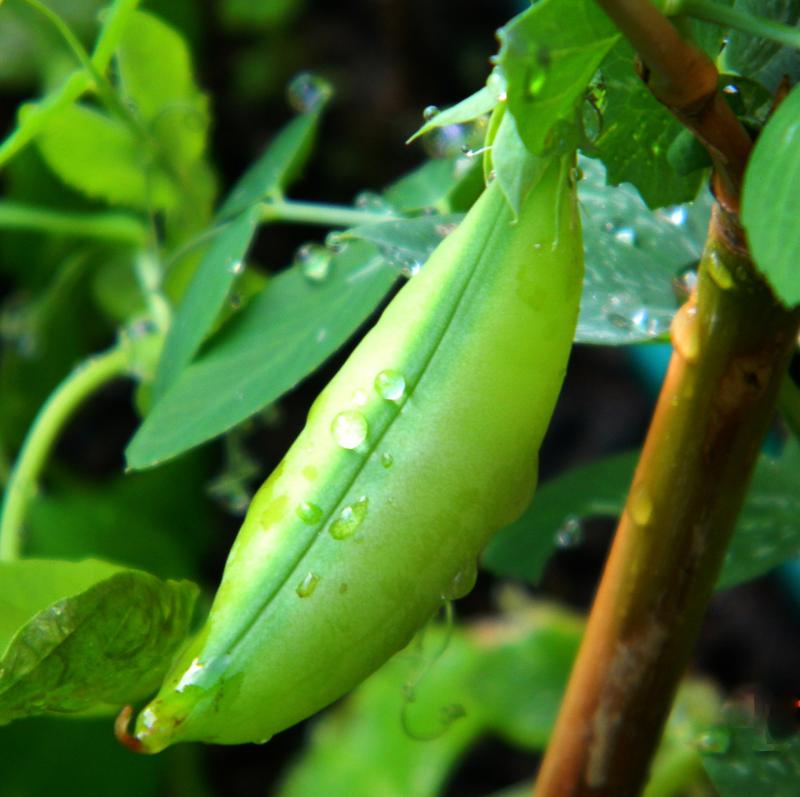
Allow bean or pea pods to turn brown on the plant. Harvest the pods and dry them for 1-2 weeks. Shell them and they are ready for storage.

Seed Storage
The first rule of seed storage is that after they are harvested and dried, they need a cold, dry environment for storage, ideally around 35° F, but at minimum below 55 to 60° F. Seeds keep for a long time at these temperatures. Dryness is important because if they get moisture, the seeds will swell and sprout, as well as have the risk of rotting.
It’s critical to keep seeds dry at all times – while using a seed packet indoors or outdoors, as well as when storing seeds. That’s why seed packets should be opened in a dry place; take out just as many as you need. Then reseal the packets, put them back into a dry, airtight container and continue to store them in a cold, but frost-free place.
Where is the ideal storage spot? A shelf in the garage, basement, or laundry room is not a good storage spot; it gets too damp or hot at times during the year. An air-tight container in the refrigerator is a good location.
Germination Test
If seeds have been stored in moisture- and vapor-proof containers in a cool area, most seeds that were new last year will probably germinate just fine. On the other hand, if seed packets were merely stuck in a box and set on a shelf in the garage or the mud room, where they were exposed to last summer's tropical heat and humidity, even long-lived seeds might not germinate well.
So what should you do? Gamble on the old seeds or buy new? How about conducting a home germination test on the leftover seed.
Start by dampening as many paper towels as you have seed packets you want to test. Take 10 seeds from each packet and roll them in a moist paper towel, wrap rubber bands or twist ties around the towels to keep the seeds from falling out, and place each towel in a labeled plastic bag in a warm spot (75 to 90 degrees Fahrenheit). The top of the refrigerator is usually a good place, especially if there are cupboards above it to hold in the heat it generates.
Under warm, moist conditions, most seeds that are going to germinate will do it in a week. So, after a week, count the number of seeds in each paper towel that have sprouted and multiply by 10 to get a germination percentage for each lot.
Any seed with a germination rate of 50 percent or below should probably be replaced. Higher rates suggest that the seed will probably be OK for this year, though you may want to plant it a little thicker than usual, just in case the germination rate outdoors is lower.
For a good harvest from your major crops, it would probably be wise to plant a mixture of new and old seed. If you know you need a certain quantity of snap beans or sweet corn or butternut squash or pickling cucumbers, buying a little extra fresh seed is pretty cheap insurance that the produce will be there when you're ready to preserve it.
For more information on storing seeds, refer to Vegetable Garden Seed Storage and Germination Requirements, NebGuide G2090.
Image credits:
- Pixabay.com
- Pixabay.com
- Sarah Browning, Nebraska Extension Educator
Search Our Archive
Associated Video
When to Start Winter Seed Starting
Nebraska Extension Educator Elizabeth Exstrom discusses tips on getting seeds started for transplants this upcoming growing season