Sarah Browning, Extension Educator

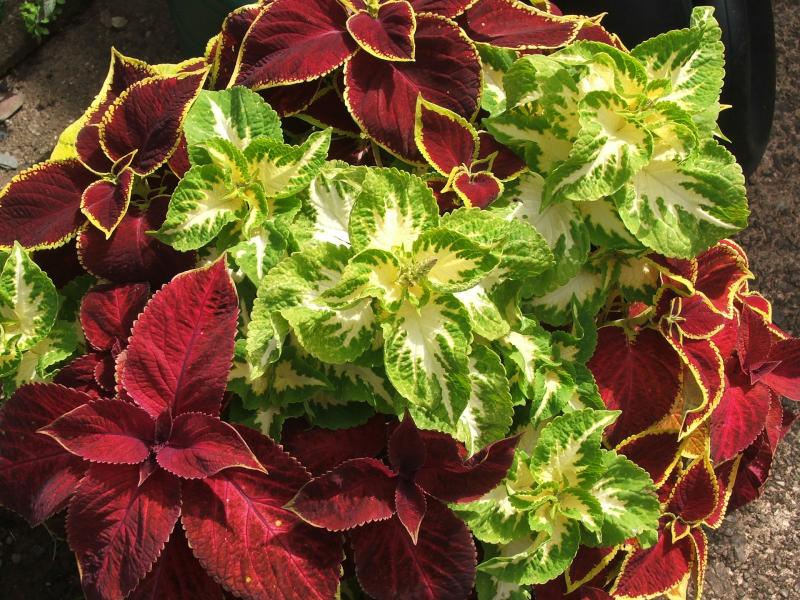
Coleus. Image from Pixabay.com
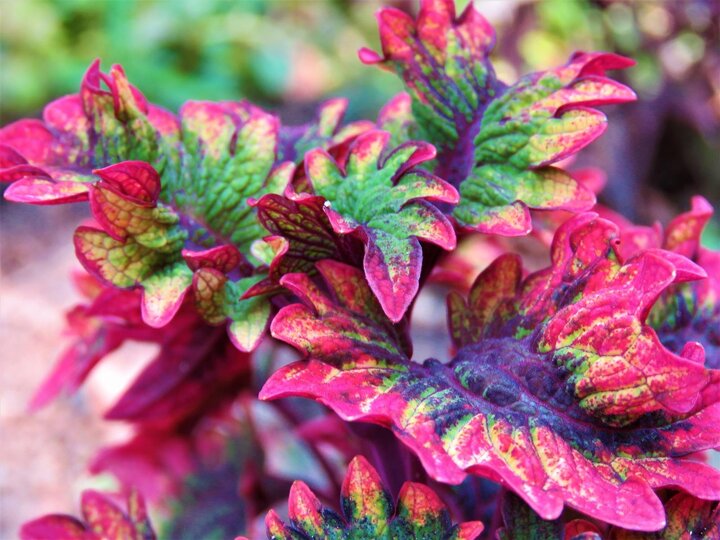
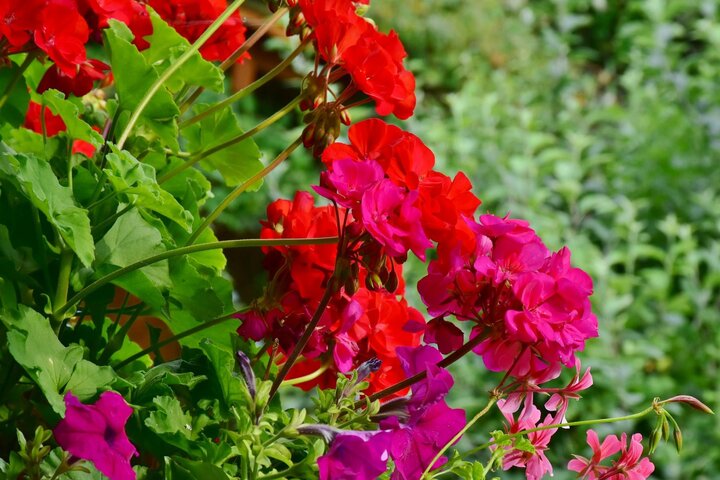
It’s hard to believe while we endure 90+ degree temperatures, that fall and winter are coming. But before your garden gets too far down the road toward fall, take a moment and decide if there are any plants you would like to propagate for next year's garden. Propagating plants through stem cuttings is easy to do and can save you money! Two plants that are very easy to propagate through stem cuttings are annual geraniums and coleus.
Get Your Supplies Ready
Begin the process of propagation by choosing a good rooting media and buying a rooting hormone. Sand, perlite, peat moss or vermiculite are all components of a good rooting media, especially when mixed up in a 50/50 combination mixture; sand-perlite, perlite-peat moss, sand-peat moss, sand-vermicullite. The rooting media should be porous, well drained and heavy enough to firmly hold the cuttings upright. You can mix your own or use a good quality commercially available potting soil.
Rooting hormones are most commonly available as a powder. Several common brands are available through nurseries and garden centers.
Finally, choose a container for rooting your cuttings that has drainage holes and is small enough that a gallon-sized resealable bag will fit over the top. Moisten your root media and fill your containers. Now you're ready to go get some cuttings.
Taking Your Cuttings
Cuttings should be taken from the parent plants in late summer before the first killing frost, so anytime in September is ideal. To take your cuttings, use a sharp knife and remove approximately six inches of stem from the healthiest growing tips of your plants.

Remove all leaves from the lower half of the cutting, and pinch off any flowers or flower buds. Next, dip the stem’s cut end in rooting hormone, then push the bare stem into the moistened rooting media.
Don't allow any leaves to lie on the soil surface, since this will cause them to rot, and make sure the cuttings don’t touch each other in the container. Leaves that touch during propagation also frequently rot.
Once all the cuttings have been put into the rooting media, moisten the soil again. Put a resealable bag over the top of each container, closing it as much as possible around the sides of the containers. This will create a high level of humidity around the cutting’s leaves, keeping them from wilting while new roots are being formed.
After Care
Place the container in a warm location that receives bright, but indirect sun. Avoid excessive heat or very hot direct sun. If water droplets form on the inside of the bag, remove it and allow it to dry out for several hours before replacing it.
Check the rooting medium for moisture every week, and add water as needed. The soil may stay fairly moist for several weeks before additional water is needed. Don't keep the soil too wet. If condensation occurs on the plastic bag, then your soil is plenty moist.
If any cuttings wilt excessively or start to rot, pull them out and discard them. Replace the plastic bag over the top of the remaining cuttings and let them continue to root.

Plan to harden your plants off before planting them outside next spring. Start the process 10 days to 2 weeks before planting, and begin by moving them outdoors to a shady spot for short periods. A cold frame works well for this purpose. Gradually leave them outside for longer periods, and move them into brighter sunlight. Reduce your watering frequency to slow their growth, but don’t allow the plants to wilt. Once they can endure the outside conditions without wilting, they are ready for planting.
Search Our Archive
Associated Video
Cuttings and Propagation
UNL Professor of Practice Stacy Adams shows a method of using cuttings for plant propagation. Aug 17, 2024<br />